 Introduction:
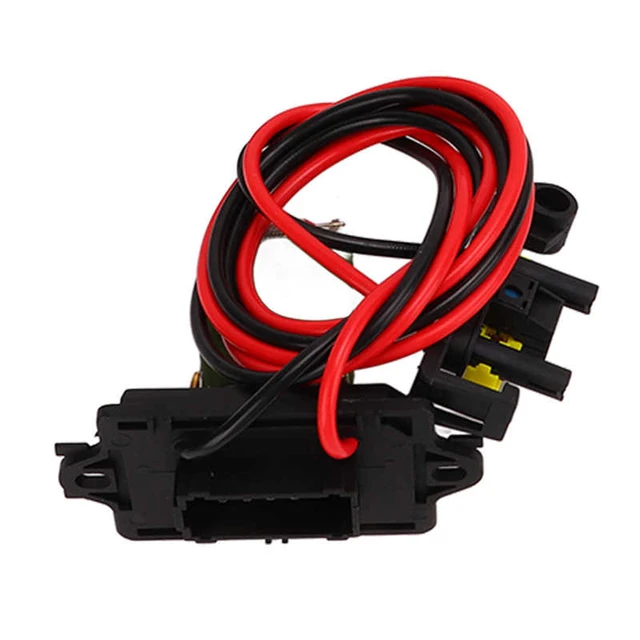
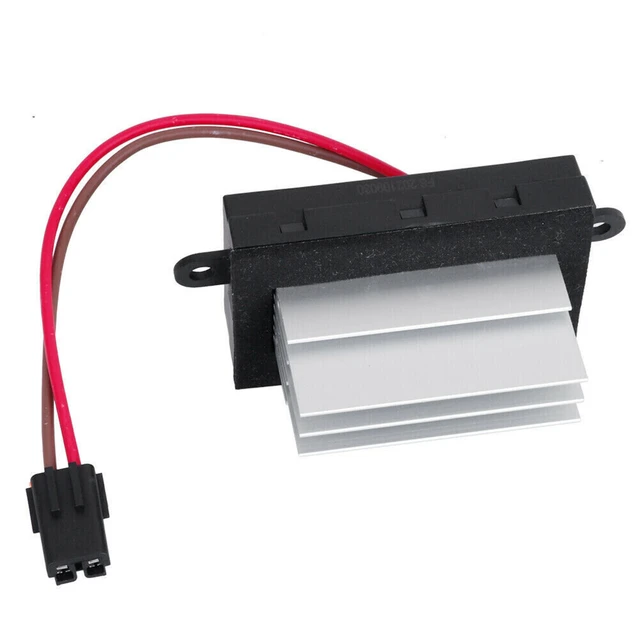
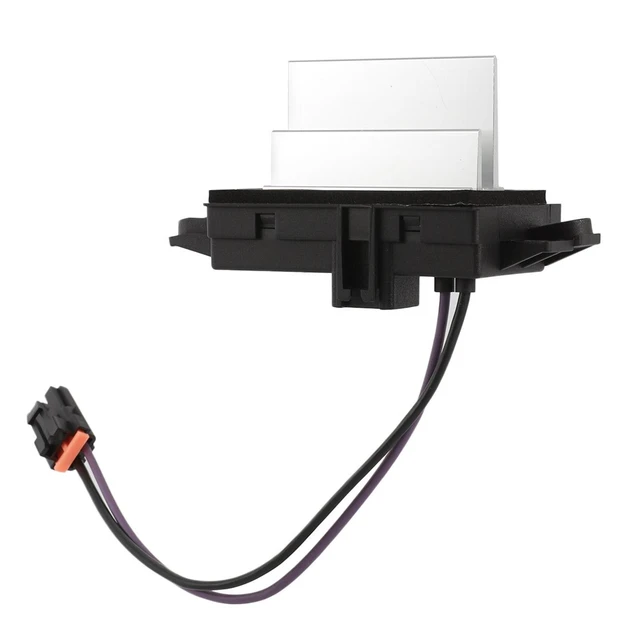
The blower motor resistor plays a crucial role in regulating the speed of your vehicle’s blower motor. When this component fails, it can result in issues such as an inoperable blower motor or limited control over its speed. Replacing a blower motor resistor is a relatively simple and cost-effective repair that can be done on your own. In this comprehensive guide, we will walk you through the step-by-step process of replacing a blower motor resistor. By following these simple steps, you can restore proper functioning to your vehicle’s heating and cooling system.
Understanding the Role of a Blower Motor Resistor
Blower Motor Function:
The blower motor is responsible for circulating air throughout the vehicle’s heating and cooling system.
It supplies the necessary airflow for proper ventilation and comfort.
Purpose of a Blower Motor Resistor:
The blower motor resistor controls the speed of the blower motor.
It allows for adjustable airflow, providing settings such as low, medium, and high speeds.
Signs of a Failing Blower Motor Resistor:
Common indicators of a failing blower motor resistor include a non-functioning blower motor, limited or inconsistent airflow, or an inability to adjust the speed settings.
 Here’s how blower motor resistor works:
The blower motor resistor works by regulating the electrical current supplied to the blower motor in a vehicle’s HVAC system. Here’s how it operates:
Fan speed control:
When the driver adjusts the fan speed on the HVAC control panel, a signal is sent to the blower motor resistor.
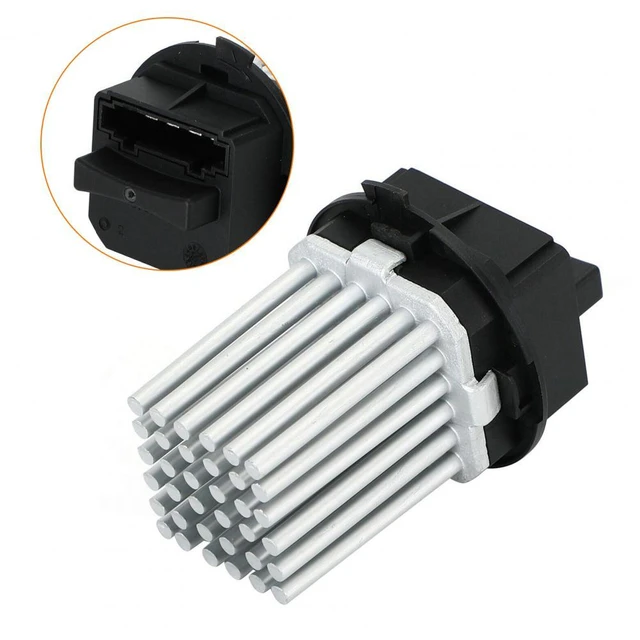
Variable resistance:
The blower motor resistor consists of multiple resistors or wire coils with different resistance values. These resistors act as variable resistances in the blower motor circuit.
Current regulation:
Based on the selected fan speed, the blower motor resistor adjusts the amount of electrical current flowing to the blower motor.
Voltage drop:
By introducing resistance into the circuit, the blower motor resistor creates a voltage drop. This converts some of the electrical energy into heat energy.
Speed adjustment:
The different resistors in the blower motor resistor assembly are engaged depending on the desired fan speed. This allows for various levels of current flow to the blower motor.
Lower fan speed:
For lower fan speed settings, the blower motor resistor increases the resistance in the circuit. This reduces the amount of current supplied to the blower motor, resulting in a slower motor speed and less airflow.
Higher fan speed:
At higher fan speed settings, the blower motor resistor lowers the resistance in the circuit. This allows a greater amount of current to pass through, increasing the motor’s speed and delivering a higher volume of air into the cabin.
Overall, the blower motor resistor modulates the current provided to the blower motor, enabling the desired fan speed and controlling the airflow within the vehicle’s HVAC system.
 Gathering the Necessary Tools and Supplies
Tools:
Prepare the essential tools for the replacement, such as a socket set, screwdriver (Phillips and flathead), and pliers.
Depending on your vehicle model, you may need additional tools, such as a trim removal tool or wire crimping tool.
Supplies:
Ensure that you have the necessary replacement parts, which typically include a new blower motor resistor and possibly electrical connectors or wire crimping connectors.
It is advisable to have a vehicle-specific repair manual or access to online resources for reference.
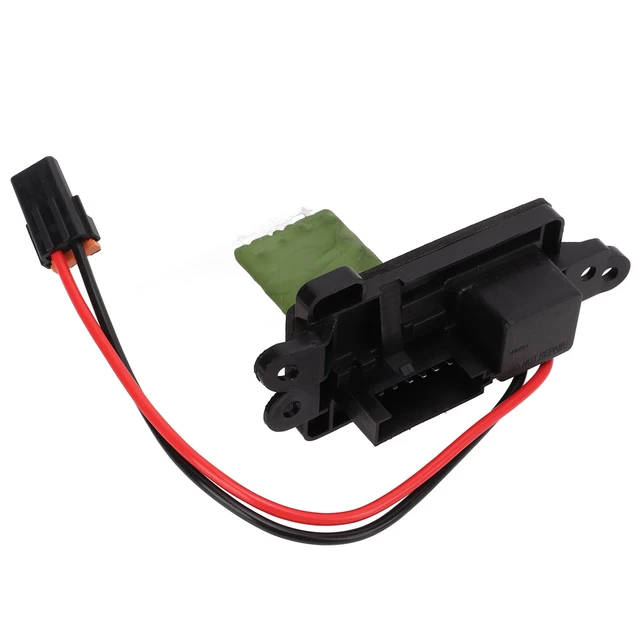
Removing the Old Blower Motor Resistor
Locate the Blower Motor Resistor:
The blower motor resistor is typically located near the blower motor itself, in the HVAC (Heating, Ventilation, and Air Conditioning) system.
Refer to your repair manual or online resources to identify its specific location in your vehicle.
Disconnect the Electrical Connectors:
Use pliers or your fingers to squeeze and release the electrical connectors attached to the blower motor resistor.
Carefully unplug them from the resistor, ensuring not to damage the wires or connectors.
Remove the Mounting Screws:
Locate and remove the mounting screws that secure the blower motor resistor in place.
Carefully set the screws aside as you will need them later.
3.4 Remove the Old Blower Motor Resistor:
Gently pull out the old blower motor resistor from its location in the HVAC system.
Take note of any wires or connectors that might be attached and proceed with caution to prevent any breakage or damage.
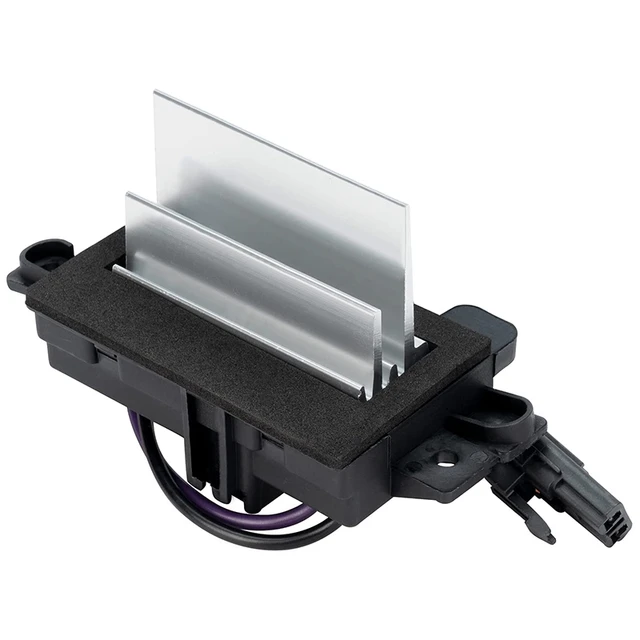
Section 4: Installing the New Blower Motor Resistor
Connect Electrical Wires:
Attach the electrical connectors to the corresponding terminals on the new blower motor resistor.
Ensure that they are securely connected, applying gentle pressure as needed.
Mount the New Blower Motor Resistor:
Insert the new blower motor resistor into its designated location within the HVAC system.
Align the mounting holes with the corresponding holes in the HVAC system and secure it using the mounting screws removed earlier.
Test the Blower Motor:
Reconnect the vehicle’s battery and test the blower motor and its speed settings.
Verify that the blower motor functions correctly and that the speed settings can be adjusted as intended.
 Final Checks and Safety Considerations
Properly Secure Exposed Wiring:
Ensure that any exposed wires or connectors are properly secured and not at risk of rubbing against other components or coming into contact with hot surfaces.
Follow Safety Guidelines:
Always follow safety guidelines when working on your vehicle, such as disconnecting the battery before starting any repair tasks.
Take caution to avoid any electrical shock or injury during the replacement process.
Seek Professional Assistance, if Needed:
If you are uncomfortable or unsure about any aspect of the blower motor resistor replacement, consider seeking assistance from a qualified automotive professional.
 Conclusion:
How to Replace a Blower Motor Resistor? Replacing a blower motor resistor is a practical and cost-effective way to address issues with your vehicle’s blower motor. By following the step-by-step process outlined in this comprehensive guide, you can confidently replace the blower motor resistor and restore proper airflow and functionality to your heating and cooling system. Remember to gather the necessary tools and supplies, refer to vehicle-specific resources for guidance, and prioritize safety throughout the replacement process. With a new blower motor resistor, you can enjoy optimal comfort in your vehicle regardless of the season.