Introduction to Microwave Diode Function and Symptoms of Failure
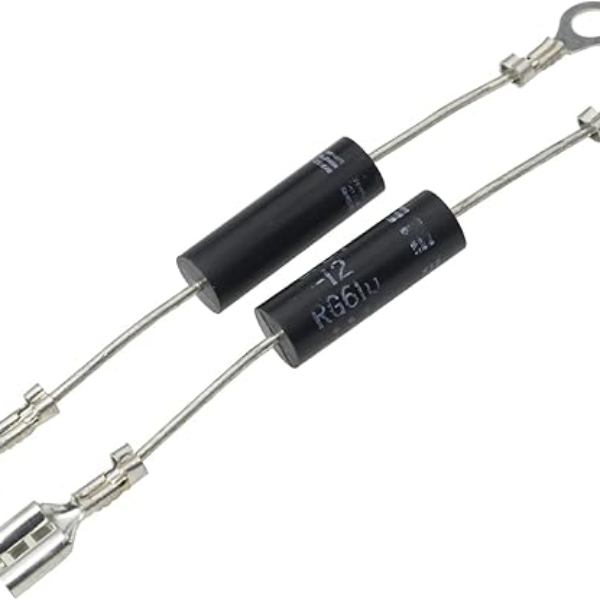
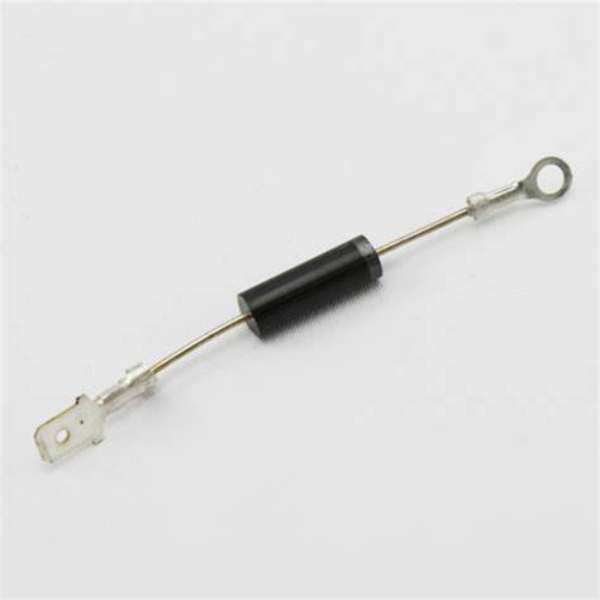
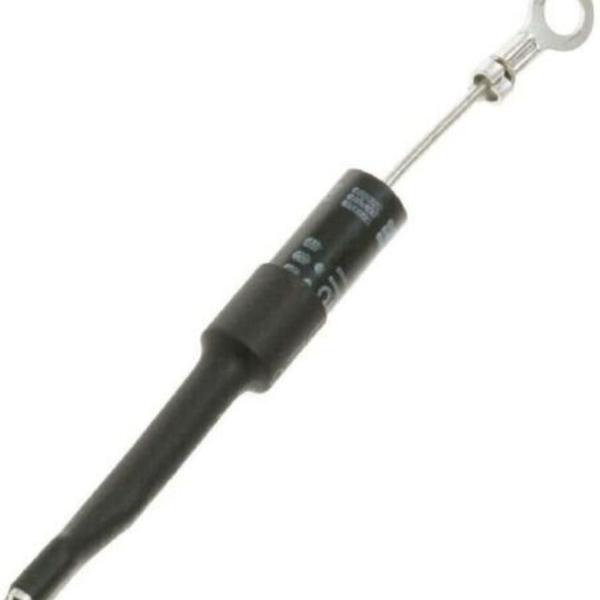
The microwave diode is a key component. It ensures microwaves generate heat effectively. The diode works with the magnetron. Together, they create cooking energy. Without a working diode, microwaves lose functionality. Knowing symptoms of failure is vital.
Common signs include reduced heating power, or no heat at all. Sparks or odd noises during operation are also symptoms. Burnt smell? Could be a diode failure. Understanding diode dynamics ss3 pro is essential for maintaining microwave efficiency, as the diode plays a crucial role in heat generation. Recognizing signs of failure, such as reduced heating power or unusual noises, can help prevent further issues and ensure your microwave operates effectively.
Prompt identification prevents further damage. Ensure timely microwave diode replacement to restore proper function. We will delve deeper into safe replacement practices later on.
Safety Precautions Before Attempting Diode Replacement
Before you start with your microwave diode replacement, safety must be your first concern. Here are essential safety steps to follow:
- Unplug the Microwave: Always unplug your appliance. This avoids the risk of electric shock.
- Wear Safety Gear: Use insulated gloves and eye protection. They guard against electric shock and debris.
- Capacitor Discharge: Microwaves store high voltage in the capacitor. Discharge safely to prevent shocks. Use a resistor or screwdriver with an insulated handle for this.
- Check for Damage: Inspect the microwave for damaged parts. Do not proceed if you see breaches in wires or components.
- Know Your Limits: Recognize when a professional is needed. If you doubt your ability to replace the diode safely, consult a technician.
By following these precautions, you ensure a safer environment for conducting the microwave diode replacement.
Tools and Materials Needed for Diode Replacement
Before starting your microwave diode replacement, gather all necessary tools and materials. Doing so ensures a smooth and efficient process. Here’s what you’ll need:
- Screwdrivers: A set of screwdrivers is crucial. You’ll likely need both flathead and Phillips types.
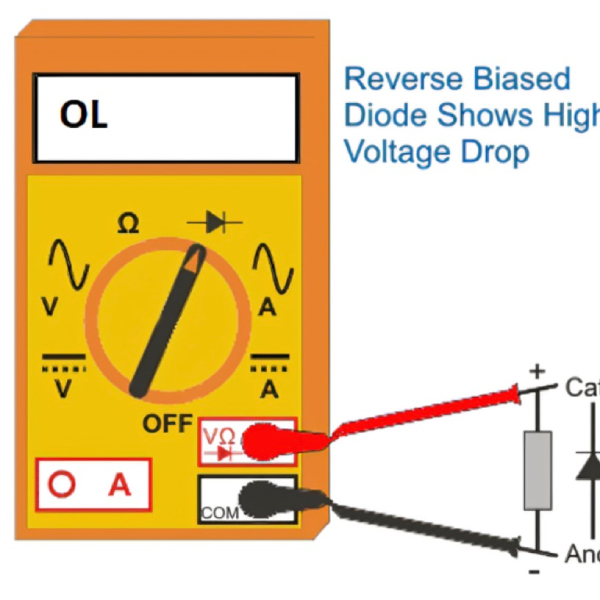
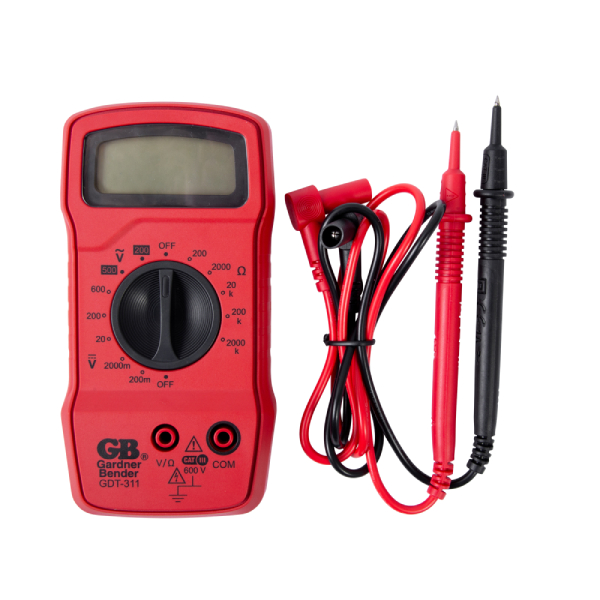
- Multimeter: Use this to test the diode. Make sure it is fully functional or to confirm it’s defective.
- Needle nose pliers: These help you remove the old diode. They also assist in installing the new one.
- Wire cutters/strippers: If you need to trim wires, these are important.
- Insulated gloves: Since you’re working with electrical components, gloves are essential for protection.
- Safety goggles: Protect your eyes from any potential sparks or debris.
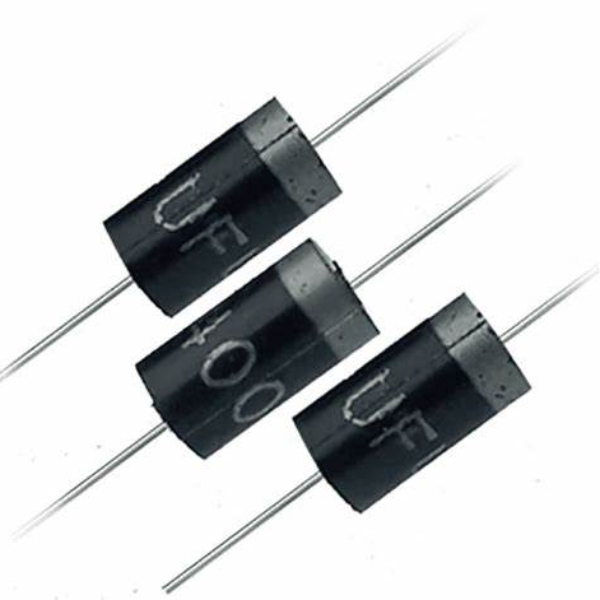
- New microwave diode: Purchase this from a reliable supplier. Ensure it matches your microwave’s specifications.
- Resistor or insulated-handle screwdriver: You’ll need one of these to discharge the microwave’s capacitor safely.
Preparation sets the stage for success. Have these tools and materials ready before you begin the replacement process. This preparation can help prevent interruptions and ensure a safe workspace. Next, we’ll discuss how to remove the old diode step by step.
Step-by-Step Instructions for Diode Removal
After ensuring safety and gathering your tools, follow these steps for diode removal:
- Access the Microwave’s Interior: Remove the microwave’s outer shell using screwdrivers. This varies by model, so consult your microwave’s manual.
- Locate the Diode: Find the diode. It connects to the capacitor, which is a large metal component.
- Test the Diode: Use the multimeter to test the diode. A failed diode won’t show continuity.
- Disconnect the Diode: Carefully detach the diode from its terminals. Needle nose pliers might be needed.
- Remove the Old Diode: Once disconnected, remove the diode from the microwave. Be gentle to avoid damage to other parts.
- Inspect Everything: Before proceeding, check the area. Ensure no other parts have damage.
With the old diode removed, you’re ready for the next step: choosing and installing the correct replacement diode for your microwave.
How to Choose the Right Replacement Diode for Your Microwave
Choosing the right microwave diode is crucial. Here’s how to ensure you get the correct one:
- Check the Model Number: Look for your microwave’s model number. Find it on the manual or the microwave itself.
- Consult the Manufacturer: Reach out to the microwave’s maker. They can advise on the specific diode needed.
- Match the Specs: Ensure the new diode matches the voltage and current ratings of your microwave.
- Quality Matters: Opt for high-quality diodes. They ensure durability and proper function.
- Buy from Reputable Sources: Get your replacement from trusted suppliers. This reduces risks of getting a faulty diode.
Selecting the right diode ensures your microwave works well after the replacement. Next, we will guide you through the installation process for the new diode.
Installation Process for the New Microwave Diode
Installing a new microwave diode is straightforward. Follow these steps to ensure proper installation:
- Secure the New Diode: First, take the replacement diode. Position it where the old one was.
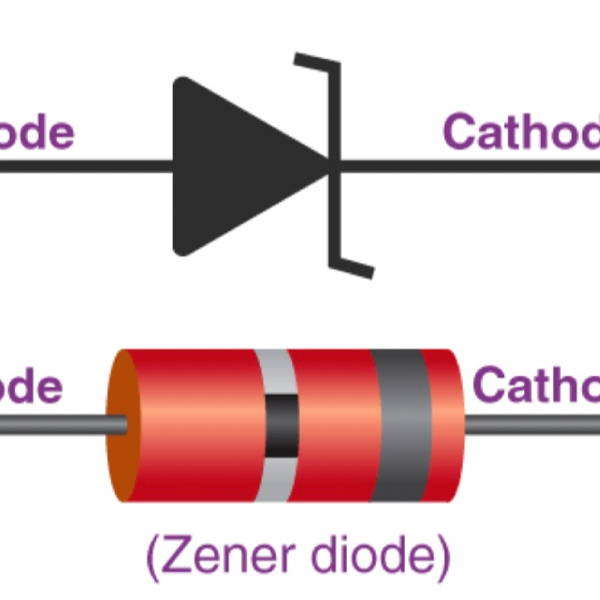
- Connect to Capacitor Terminals: Attach the diode leads to the capacitor terminals. Mind the polarity; one end is specific.
- Fasten Firmly: Use the needle nose pliers to secure connections. Be gentle, but ensure there’s no looseness.
- Double-check Connections: Take a moment to review. Ensure all wires connect correctly and safely.
- Reassemble the Microwave: Once the diode is securely in place, put the outer shell back on.
- Screw Everything Tight: Use the screwdrivers to tighten all screws. Double-check to make sure none are left out.
Proper installation of your new microwave diode revives your appliance. Remember, attention to detail is crucial for safety and functionality. In the next section, we’ll discuss how to test your microwave after the diode replacement. After replacing the microwave diode, it’s important to measure the diode resistance to ensure proper functionality and safety of your appliance before using it again.
Testing Your Microwave After Diode Replacement
After installing the new microwave diode, testing is crucial. This confirms the success of your replacement and the functionality of your microwave. Here are simple steps to do it:
- Plug the Microwave In: Carefully plug your microwave back into the power outlet.
- Set a Cooking Timer: Choose a short time, like 30 seconds, to test the appliance.
- Listen for Unusual Noises: Pay attention to any strange sounds. These could point to issues.
- Observe the Microwave Operation: Watch for any sparks or unusual behavior.
- Check for Heat: After the timer ends, see if the microwave generated heat effectively.
- Inspect the Diode Area: Open the microwave and visually check around the new diode for any signs of damage.
If your microwave passes these tests without problems, the diode replacement was likely successful. However, if you encounter any issues, it may be best to seek help from a professional technician. After using the diode tester to check your microwave, a successful test indicates that the replacement was effective. If any problems arise, it’s advisable to consult a professional technician for further assistance.
Remember, regular microwave maintenance can prevent future diode problems. In our final section, we’ll share tips to keep your microwave in top condition.
Tips for Maintaining Your Microwave to Prevent Future Issues
Keeping your microwave in top shape can extend its life and prevent diode issues. Follow these maintenance tips:
- Clean Regularly: Wipe the interior with a damp cloth. Avoid harsh chemicals that can harm components.
- Inspect the Door Seal: Check the seal for damage. A broken seal can cause heat to escape and lower efficiency.
- Turntable Maintenance: Make sure the turntable rotates smoothly. Clean it and check for obstructions.
- Avoid Metal Inside: Never place metal objects inside the microwave. They can cause sparks and damage.
- Ventilation Check: Ensure the vents are clear. Blocked vents can cause overheating.
- Power Surge Protection: Use a surge protector to guard against electrical spikes.
- Be Gentle with Door: Handle the door with care. Slamming can damage the latch or seal.
By following these simple steps, you can help ensure that your microwave continues to operate efficiently and reduce the need for future microwave diode replacement.