Introduction to Alternator Diodes
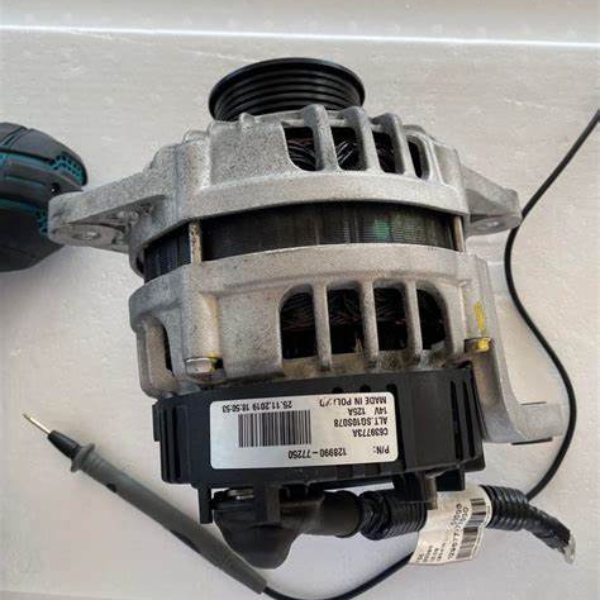
An alternator diode is a critical component in a vehicle’s charging system. It allows current to flow in one direction, preventing battery drain when the engine is off. Diodes also smooth out the current from the alternator to provide a steady voltage to the vehicle’s electrical system. The performance of these diodes is crucial for maintaining reliable battery charging and preventing power fluctuations. Alternator diodes are usually part of a diode trio or a rectifier bridge within the alternator. Over time, they can wear out or fail, symptoms of which may include a dead battery or dim lights. A simple alternator diode test can help pinpoint issues to avoid more significant problems with the vehicle’s electrical system.

Tools and Equipment Needed for Testing
Before you can perform an alternator diode test, you need the right tools. Equip yourself with these essentials to ensure an accurate assessment of your alternator’s diodes.
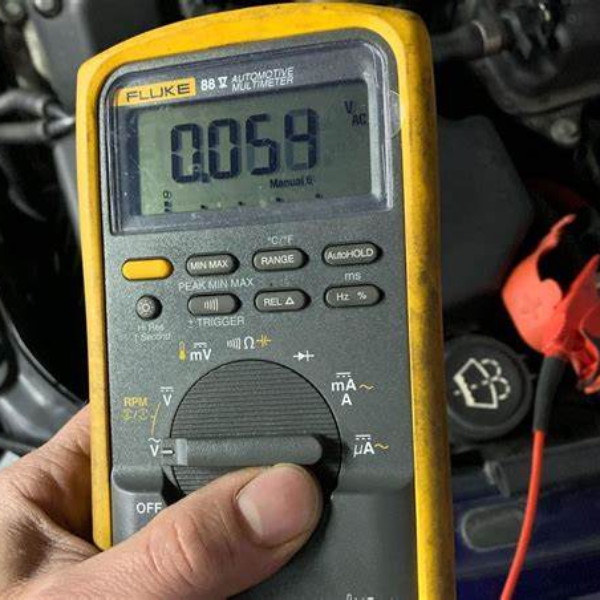
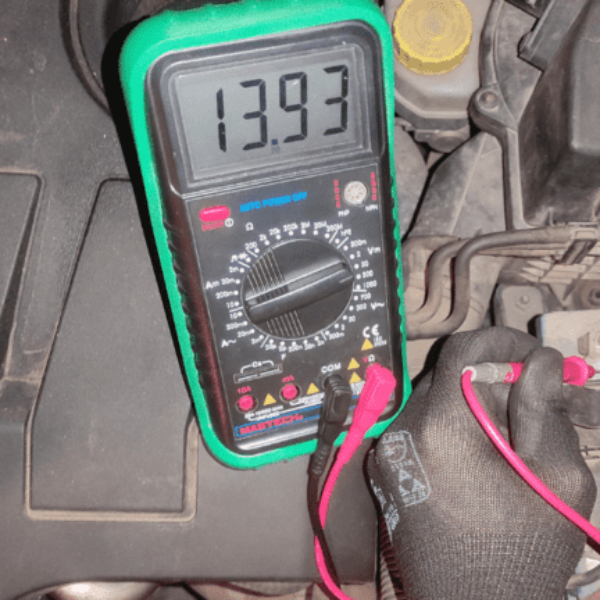
- Multimeter: A digital multimeter is the primary tool for testing alternator diodes. It measures voltage, resistance, and current, which are vital data points for the test.
- Safety Goggles: Protect your eyes from potential sparks or debris when working near the vehicle’s electrical system.
- Insulated Gloves: To prevent electrical shocks and burns, wear gloves with proper insulation.
- Wire Brush: This is for cleaning the alternator’s terminals and ensuring a good connection for accurate test results.
- Battery Terminal Cleaner: Use this to clean the battery posts and terminals to reduce the risk of incorrect readings due to poor connections.
- Wrench Set: Required to disconnect battery terminals or remove parts for closer inspection.
Ensure your multimeter is set to the diode test function if it has one, or the correct resistance range for diode testing. Always start with a fully charged battery to avoid skewed results. Remember to ground yourself to prevent static discharge that could damage components. Before testing the flywheel diode, ensure your multimeter is properly configured. A fully charged battery will help you get accurate readings during the test.
Safety Precautions Before Starting the Test
Before conducting an alternator diode test, safety should be your principal concern. Follow these guidelines to prevent accidents and damage to your vehicle’s electrical system.
- Disconnect the Battery: Always start by disconnecting the battery. This minimizes the risk of electric shocks and short circuits.
- Work in a Well-Ventilated Area: To prevent inhalation of fumes, ensure the area is airy. If you’re testing inside a garage, keep the door open.
- Remove Jewelry: Take off rings, bracelets, and necklaces. These could conduct electricity or get caught in engine parts.
- Use the Proper Tools: Only use tools in good condition. Damaged tools can lead to accidents.
- Don’t Rush: Work slowly and methodically. Hasty actions can cause errors and injuries.
- Check Your Equipment: Make sure your multimeter and other tools are functioning correctly before you begin.
Adhering strictly to these safety measures ensures a secure testing environment. Once these precautions are in place, you’re ready to proceed with the alternator diode test.
Step-by-Step Procedure for Testing an Alternator Diode
Performing an alternator diode test is not difficult with the proper steps and precautions. Here is a clear-cut guide to help you through the process:
- Prepare your workstation: Make sure the vehicle is off and the workspace is well-lit.
- Remove the alternator: Follow your vehicle’s manual to take out the alternator safely.
- Set your multimeter: Switch your multimeter to the diode test mode or the appropriate resistance setting.
- Locate the diode: Refer to the vehicle’s manual to find the alternator’s diode.
- Test the diode: Connect your multimeter’s negative lead to the diode’s negative side and the positive lead to the positive side.
- Record the reading: Observe the multimeter reading which should show some resistance. A zero or infinity reading indicates a problem.
- Reverse the leads: Swap the multimeter’s leads and take another reading. The reading should now be opposite of what you recorded initially.
- Assess the results: If the diode only allows current to flow in one direction, it is functioning properly. If not, it may need to be replaced.
- Reinstall the alternator: If the diode is working, put the alternator back according to the manual.
Follow these steps carefully, using the alternator diode test keyword throughout to ensure that the process is accurate and safe.

Understanding Alternator Diode Test Results
Once you have completed your alternator diode test, interpreting the results is crucial. The readings from your multimeter provide valuable insights into the state of your vehicle’s diodes. Understanding these readings helps you decide the next steps to take. A faulty diode array can lead to charging issues in your vehicle. Analyzing the multimeter readings will help you assess the condition of the entire diode array.
Interpreting Multimeter Readings
A functioning diode will show resistance when measured in one direction and will not conduct when the leads are reversed. Here’s how to understand your test results:
- Normal Reading: Typically, a normal diode will show some resistance reading in one direction and a very high resistance or ‘OL’ (Open Line) when the leads are reversed.
- Faulty Diode: If the multimeter shows zero or very low resistance in both directions, this indicates a shorted diode. If it shows ‘OL’ in both directions, the diode is likely open or broken.
- Inconclusive Results: Sometimes, if the readings are inconsistent or fluctuate, it may point to a poor connection or a problem with the multimeter itself.
Once you determine the condition of the diode, you can decide whether it needs replacing or if further diagnostics are necessary.
Possible Outcomes From Your Test
Depending on your findings, you’ll have several paths to consider:
- Good Diode: If the test shows proper function, no action is needed; your alternator’s diode is in good shape.
- Replace the Diode: A faulty diode signals it’s time for a replacement to ensure your alternator works correctly.
- Professional Evaluation: If you are unsure about the results or lack confidence in performing repairs, consult a professional.
It’s important to routinely carry out an alternator diode test as a part of regular vehicle maintenance. This practice can prevent unexpected breakdowns and costly repairs caused by electrical system failures. Regular alternator diode tests ensure reliable vehicle performance, but understanding how does a Zener diode work can enhance your knowledge of electrical components in the system.
Common Issues with Alternator Diodes and Troubleshooting Tips
When it comes to alternator diodes, several common issues can arise. Recognize these symptoms early to maintain your vehicle’s charging system’s health. Here are the common problems you might encounter and some troubleshooting tips.
- Overcharging Battery: An overcharging battery could signify that diodes are failing and allowing too much current through. Check the voltage regulator and the diode condition using an alternator diode test.
- Battery Drains Overnight: If your battery loses charge when the car is turned off, a diode might be leaking current. Test each diode to pinpoint the faulty one.
- Alternator Noise: A whining or buzzing noise coming from the alternator may be caused by diode failure. Use your multimeter to assess the diodes and replace them if necessary.
- Electrical Issues: Dimming or flickering lights may indicate that the alternator isn’t providing a steady charge due to diode problems. Conduct an alternator diode test to check for proper function.
- Error Codes: Modern vehicles may display error codes that can hint at a diode issue. Consult your vehicle’s manual and consider using a diagnostic tool to read the codes.
To troubleshoot these issues, start with a thorough alternator diode test. Use your digital multimeter and the step-by-step guide previously outlined. Always ensure your safety by wearing protective gear and disconnecting the battery before beginning. If a diode is found to be defective, the best course of action is to replace it. However, for precise issues like error codes, seek professional help to avoid misdiagnosis.
Regular monitoring and testing can prevent many of these problems. Incorporate an alternator diode test into your routine vehicle maintenance to catch issues early. Remember, as simple as these troubleshooting tips may seem, always prioritize safety and accuracy during the testing process.
The Importance of Regular Alternator Maintenance

Maintaining your alternator is key to your vehicle’s health. Regular checks on the alternator, including the alternator diode test, can spot issues early. This avoids costly repairs and breakdowns. Simple maintenance tasks can extend the life of your alternator and prevent electrical system failure.
Regular maintenance can uncover wear and tear before it leads to failure. This includes checking belts for tightness and condition, as well as inspecting electrical connections for corrosion.
An alternator diode test should be a part of this routine. It ensures diodes are only allowing current in one direction. When diodes fail, they can cause battery drain or overcharge. Both issues are bad for your vehicle.
Follow the vehicle’s manual for maintenance schedules. Most recommend checking the alternator at regular intervals. If you’re handy with tools, you can do this at home. Or you can have a professional do it during service.
Remember, prevention is better than a cure. Regular alternator maintenance saves time and money in the long run. So, don’t skip on including the alternator diode test in your routine checks.
Conclusion: Ensuring Alternator Reliability
Ensuring the reliability of your vehicle’s alternator is crucial. A faulty alternator can lead to multiple issues, including battery drain and poor electrical performance. The alternator diode test is a valuable process in your maintenance routine. It helps you identify diode issues before they get worse.
A few simple but effective steps can help maintain alternator health:
- Perform Regular Tests: Conduct the alternator diode test routinely. It helps catch potential problems early.
- Visual Inspection: Check the alternator for signs of wear, loose connections, or corrosion.
- Listen for Noises: Pay attention to any unusual sounds from the alternator that could signal trouble.
- Monitor Battery Health: Keep an eye on your battery’s performance. A struggling battery may indicate alternator issues.
By following the steps outlined in this blog and including regular alternator checks, you minimize the risk of unexpected breakdowns. If you detect issues during the alternator diode test, address them promptly. Sometimes, a diode may need replacing to restore full functionality.
Don’t hesitate to seek professional advice if you’re unsure of the test results. Mechanics have the expertise to diagnose and resolve complex issues. With consistent care, your alternator can provide reliable service throughout its lifespan.
Adopting these practices will ensure that your alternator remains a reliable component of your vehicle’s electrical system. Stay proactive with maintenance, and you’ll avoid costly and inconvenient repairs down the road.


