 Introduction:
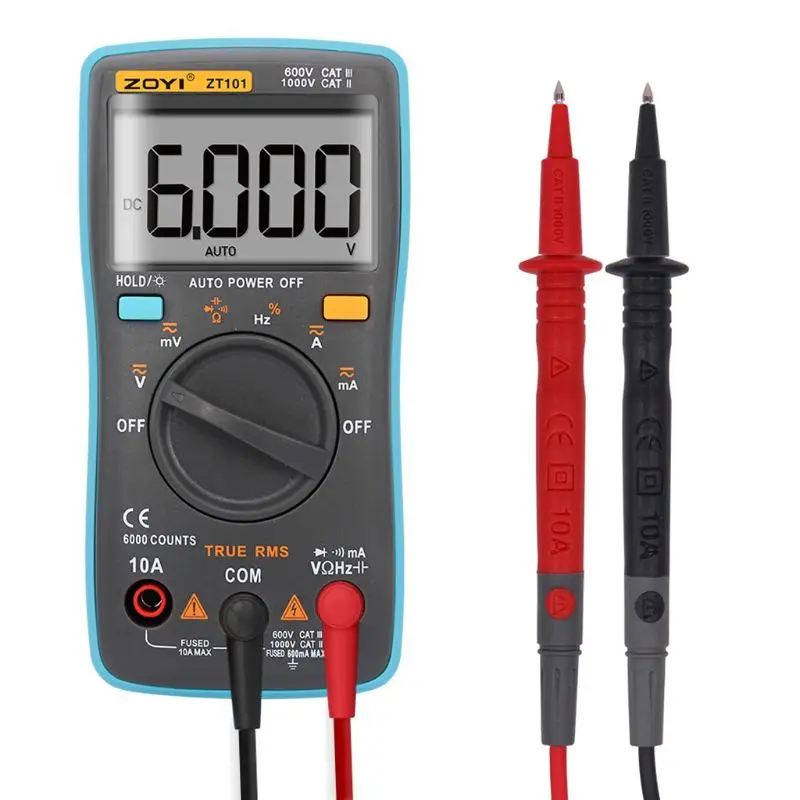
How to test a resistor with a multimeter? Resistors are electronic components that limit the flow of electric current in a circuit. Testing a resistor is essential for determining its value, functionality, and whether it meets the required specifications. A multimeter is a versatile tool that can be used to test resistors quickly and accurately. In this comprehensive guide, we will walk you through the step-by-step process of testing a resistor with a multimeter. By following these simple steps, you can confidently assess the condition and functionality of a resistor.
Here are the main purposes of resistors:
The purpose of a resistor is to limit the flow of electric current in a circuit. It is an electronic component that introduces resistance to the flow of electrons. Here are the main purposes of resistors:
Current Control:
Resistors are commonly used to control the amount of current flowing through a circuit. By offering a specific resistance value, they regulate the flow of electrons, preventing excessive current that could damage components or cause hazards.
Voltage Division:
Resistors are often employed in voltage divider circuits. By placing resistors in series or parallel configurations, they create a specified voltage drop across certain points of the circuit. This enables the division of voltage and precise voltage regulation.
Signal Conditioning:
In electronic circuits, resistors are used to condition signals. They can attenuate or reduce the amplitude of electrical signals and adjust their levels for compatibility with other components or systems.
Load Protection:
Resistors can be used to protect sensitive components from excessive current or voltage. By connecting a resistor in series with a load, it limits the current flowing through the load, preventing damage.
Temperature Sensing:
Certain types of resistors, like thermistors or resistance temperature detectors (RTDs), are used as temperature sensors. Their resistance changes in response to temperature variations, making them useful for temperature monitoring and control applications.
Timing and Oscillation:
In timing circuits or oscillator circuits, resistors are often used in combination with capacitors to establish desired time delays or determine the frequency of oscillation.
Voltage Limiting:
Resistors can act as voltage limiters by shunting excess voltage to protect sensitive components. By connecting a resistor in parallel with a device, it provides a path for the excess voltage to bypass the component, preventing damage due to voltage spikes.
Resistors are essential components in electronic circuits, offering precise control over current, voltage, and signal levels. Their diverse applications make them fundamental in a wide range of electronic devices and systems.
 Understanding the Basics of Resistor Testing
Importance of Resistor Testing:
Testing resistors allows you to verify their resistance value, which is crucial for proper circuit operation.
It helps in identifying faulty or damaged resistors that may need replacement.
Using a Multimeter:
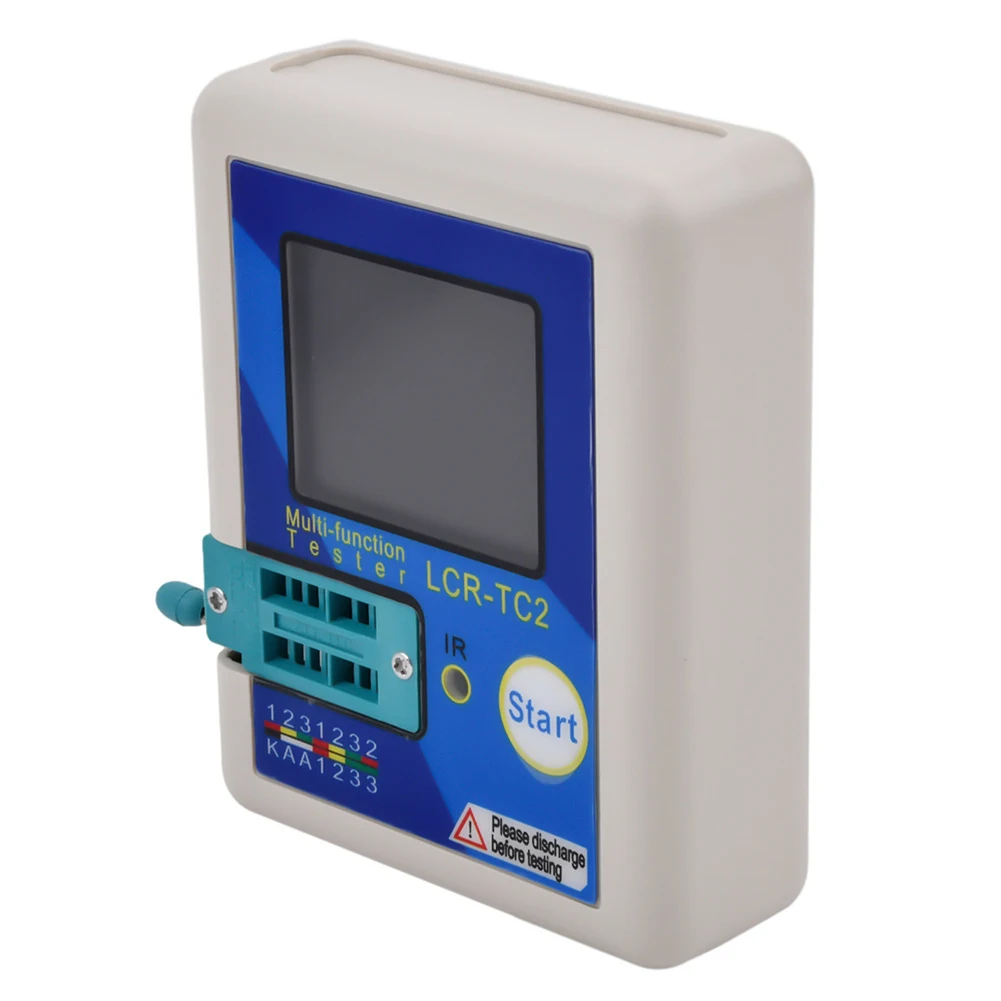
A multimeter is a versatile tool that measures various electrical properties, including resistance.
It is commonly used to test resistors due to its accuracy and ease of use.
Types of Resistors:
Different types of resistors may require specific testing methods.
The most common types include fixed resistors (carbon composition, metal film, etc.) and variable resistors (potentiometers).
Preparing for Resistor Testing
Safety Precautions:
Before testing a resistor, ensure that the circuit is powered off and any capacitors are safely discharged.
Wear necessary protective gear, such as safety glasses and gloves.
Selecting the Correct Multimeter Setting:
Set the multimeter to the resistance (ohms) function.
Choose an appropriate measurement range that covers the expected resistance value of the resistor being tested.
 Testing Fixed Resistors
Isolate the Resistor:
Remove the resistor from the circuit/component being tested to obtain accurate results.
If necessary, refer to relevant documentation or circuit schematics to determine how to safely isolate the resistor.
Identify the Resistance Color Code:
For resistors with color bands, identify and decode the color code to determine the expected resistance value.
Refer to a resistor color code chart or online resources for accurate interpretation.
Testing the Resistance Value:
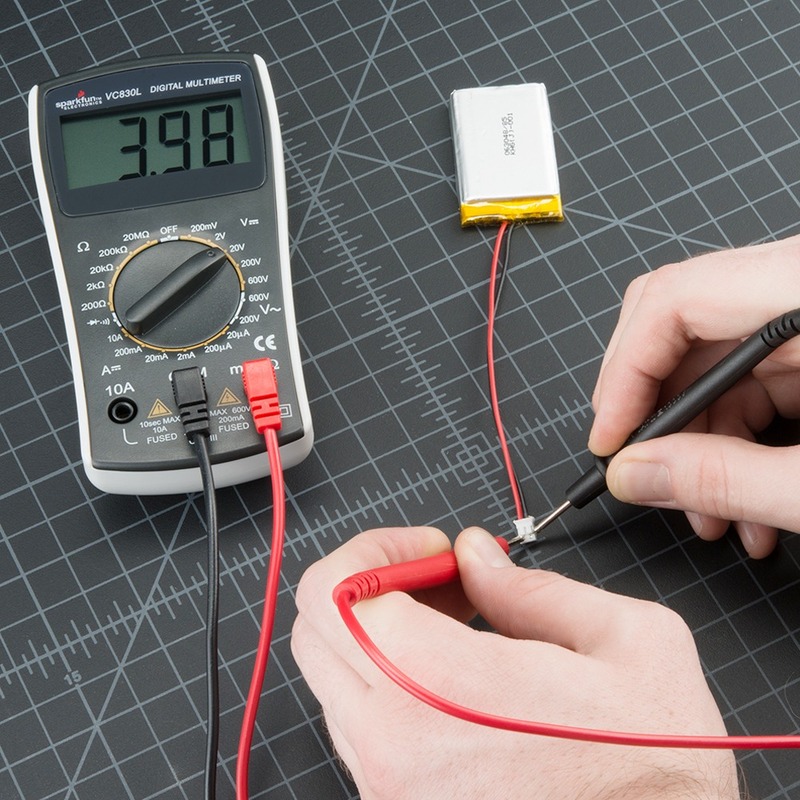
Connect the test leads of the multimeter to the resistor terminals.
Observe the multimeter display for the resistance reading.
Compare the Measured Resistance:
Compare the measured resistance value with the expected resistance value based on the resistor’s color code.
Allow for a certain tolerance, typically specified by the resistor manufacturer or the circuit requirements.
Testing Variable Resistors (Potentiometers)
Definition of Potentiometers:
Potentiometers, also known as variable resistors, allow for adjustable resistance values in a circuit.
Testing potentiometers confirms their variable resistance range and functionality.
Testing Potentiometer Functionality:
Connect the multimeter leads to the outermost terminals of the potentiometer.
Slowly rotate the potentiometer knob or slider throughout its range of motion while monitoring the resistance reading on the multimeter.
Identifying Irregularities:
Observe the multimeter reading as you adjust the potentiometer.
Any irregularities, such as sudden changes or fluctuations, may indicate a faulty or dirty potentiometer requiring further inspection or cleaning.
Final Checks and Safety Considerations
Proper Recording and Labeling:
Record the measured resistance values for future reference and circuit documentation.
Properly label the tested resistors to avoid confusion during circuit assembly or repairs.
Component Reassembly:
Reinstall the tested resistors (if applicable) into their respective circuits or components.
Ensure proper connections and securely fasten any necessary mounting hardware.
Seek Professional Assistance, if Needed:
If you encounter difficulties or are unsure of the testing process, it is recommended to seek assistance from a knowledgeable professional.
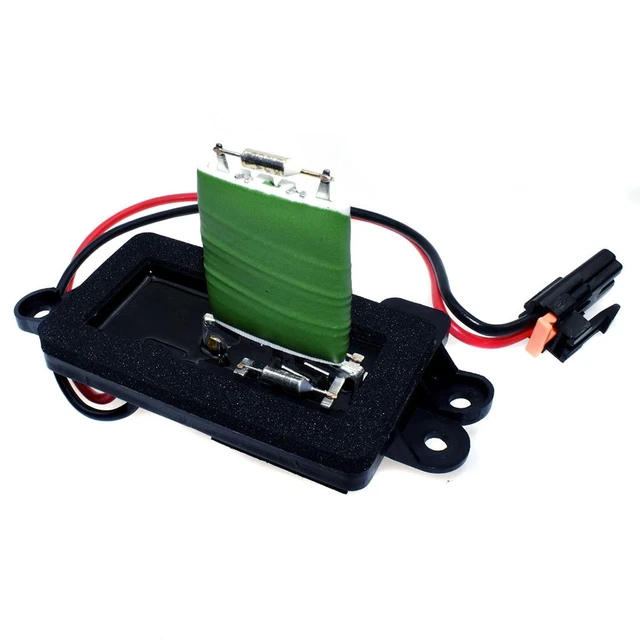
 Measure the blower motor resistor using a multimeter:
For example, to measure the blower motor resistor using a multimeter, follow these steps:
Set the multimeter:
Turn on the multimeter and set the dial or switch to the resistance or ohms (Ω) setting. Ensure that the meter is capable of measuring the resistance range required for the blower motor resistor.
Disconnect the electrical connections:
Locate the blower motor resistor, which is usually near the blower motor or within the HVAC system. Disconnect the electrical connections from the resistor to isolate it from the circuit.
Test the resistor terminals:
Identify the terminals or pins on the blower motor resistor. Touch the multimeter probes (one on each hand) to the terminals or pins of the resistor. The order of the probes does not matter.
Read the resistance value:
The multimeter will display the resistance value on its screen. Compare the measured resistance to the specified resistance range for the blower motor resistor. If the resistance value falls within the expected range, the resistor is functioning correctly. If the resistance is significantly lower or higher, the resistor may be faulty and require replacement.
Retest and confirm:
To ensure accuracy, repeat the measurement a few times and compare the results. If consistently measuring a value outside of the expected range, it suggests a faulty resistor.
Remember to consult the vehicle’s service manual or guidelines specific to your blower motor resistor for the correct resistance values and ranges. It’s also a good practice to follow proper safety precautions and disconnect the power source before performing any electrical measurements or repairs.
 Conclusion-How to test a resistor with a multimeter?:
How to test a resistor with a multimeter? Testing resistors with a multimeter is a straightforward process that allows you to determine their resistance value and functionality. By following the step-by-step guide outlined in this comprehensive article, you can confidently test fixed resistors and potentiometers using a multimeter. Remember to take necessary safety precautions, select the correct multimeter setting, and compare measured values with expected values. Through proper testing, you can ensure the reliability and performance of resistors in your electronic circuits.


